










Step-by-Step Guide to Hot Oil Treatment
A hot oil treatment is a simple way to give dry, dull, or stressed hair a softer, smoother feel using warmed oil and gentle conditioning time. The process helps coat the hair, reduce the look of frizz, support shine, and make detangling easier when it is done carefully.

- Last updated
- 74 reads
- 13 min read
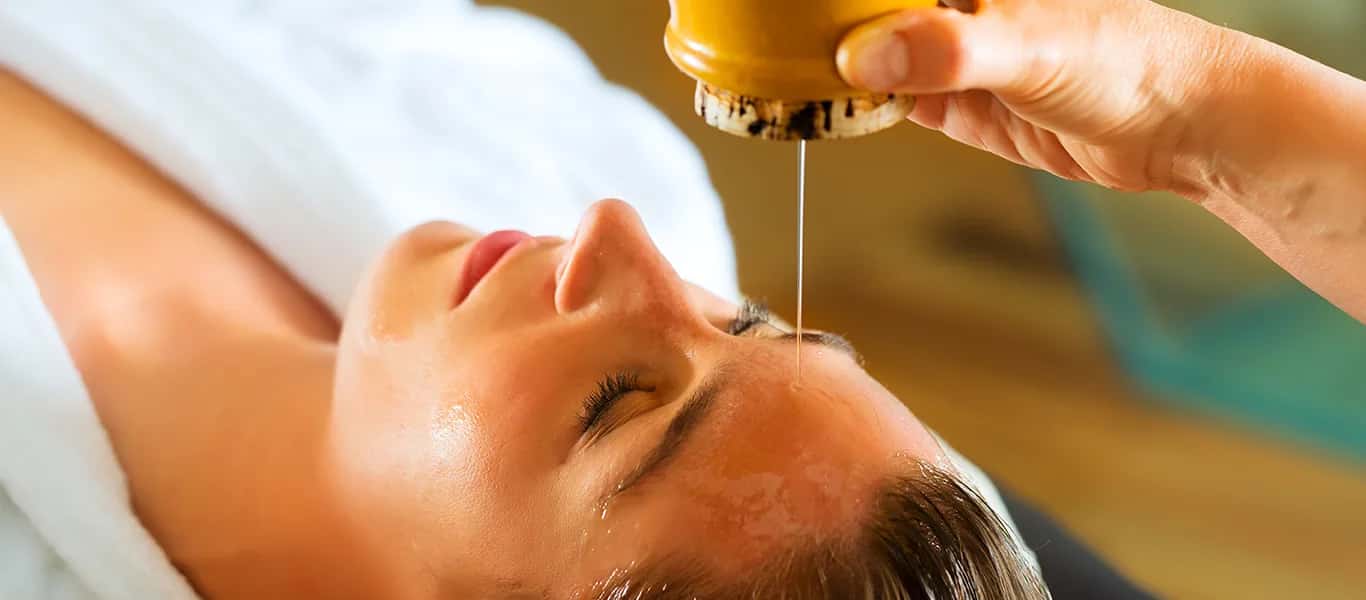


What is a hot oil treatment for hair?
A Hot Oil Treatment for Hair is a conditioning method where oil is gently warmed, applied to the hair and sometimes the scalp, then left on long enough to soften and nourish the strands before washing. The warmth helps the oil spread more easily, so it can coat the hair evenly and create a more polished, flexible feel. It is not meant to “repair” hair in a permanent way, but it can improve how hair looks, feels, and behaves between wash days.
Think of it as a reset ritual for hair that feels rough, dry, tangled, or tired from styling. Heat styling, chemical services, weather changes, sun exposure, hard water, and frequent washing can all leave hair feeling less manageable. A well-done hair oil treatment gives the hair a protective, conditioning layer that helps it feel more supple.
The key is balance. Too much oil, too much heat, or leaving the treatment on for longer than your hair needs can make strands feel heavy instead of healthy. The best results come from choosing the right oil, warming it safely, applying it with intention, and rinsing thoroughly.
The benefits of using a nourishing hair oil
A nourishing hair oil can make a visible difference because it smooths the hair surface and helps reduce the rough feeling that often comes with dryness. When hair lies flatter and feels more lubricated, it usually looks shinier and is easier to comb. This is especially helpful for lengths and ends, which are often the oldest and driest parts of the hair.
Hot oil treatments can also support a more comfortable hair care routine. If your hair knots easily, the added slip from oil may make detangling gentler. If your hair tends to puff up in humidity, oil can help create a smoother appearance, though it will not fully replace styling products or humidity protection.
Common reasons people use hot oil treatments include:
- Dry-feeling ends: Oil helps soften brittle-feeling areas and makes the ends look smoother.
- Frizz and flyaways: A light coating of oil can reduce the appearance of raised strands.
- Dullness: Smoother hair reflects light better, which can create a shinier finish.
- Tangles: Conditioning oils add slip, making knots easier to work through.
- Scalp dryness: Some people apply a small amount to the scalp for comfort, though sensitive scalps should be cautious.
- Protective styling prep: A treatment before braids, twists, buns, or other styles can help hair feel conditioned before being tucked away.
The goal is not to soak your hair until it drips. It is to apply enough oil to coat the areas that need conditioning without overwhelming the hair.
Choosing the right oil for your hair type
The best oil for a Hot Oil Treatment for Hair depends on your texture, density, scalp comfort, and how easily your hair becomes weighed down. Fine hair may need a lighter oil and a shorter treatment time, while thick, coarse, curly, or coily hair may respond well to richer oils and more generous application. If you are unsure, start light and adjust over time.
Lightweight options
Lighter oils are useful for fine hair, low-density hair, or anyone who dislikes a greasy finish. They spread easily and can condition without making hair feel coated for days. Examples often used in hair care include argan oil, grapeseed oil, jojoba oil, and sweet almond oil.
Jojoba oil is especially popular because its texture feels light and scalp-friendly for many people. Grapeseed oil is another good choice if you want slip without too much heaviness. If your hair gets oily quickly, use these oils mainly on the mid-lengths and ends rather than the scalp.
Richer options
Richer oils suit hair that is dense, coarse, textured, very dry, or frequently exposed to styling stress. Coconut oil, olive oil, avocado oil, and castor oil are common choices, though each behaves differently. Coconut oil can feel strengthening and smoothing for some hair, but it may feel stiff or heavy on others, so it is worth testing before applying it all over.
Olive and avocado oils feel more cushiony and conditioning, making them helpful for dry lengths. Castor oil is very thick, so it is often easier to blend it with a lighter oil instead of using it alone. A simple blend gives you richness without making the treatment difficult to rinse out.
Blending oils for better results
You do not need a complicated recipe. In fact, simple blends are easier to control. A useful starting point is one lighter oil plus one richer oil, adjusted to your hair’s needs.
Try these basic blends:
- Fine or oily-prone hair: jojoba oil with a small amount of argan oil.
- Medium hair: sweet almond oil with avocado oil.
- Thick or curly hair: olive oil with avocado oil.
- Very dry ends: coconut oil blended with jojoba oil or almond oil.
- Coily or dense hair: avocado oil with a small amount of castor oil.
If you use essential oils, be careful. They are highly concentrated and can irritate the scalp if used incorrectly. For a simple hair oil treatment, plain carrier oils are usually enough.

How do you do a hot oil treatment step by step?
To do a hot oil treatment, warm a small amount of oil in a heat-safe container, apply it to damp or dry hair from ends upward, cover the hair, let it sit for about 15 to 30 minutes, then shampoo thoroughly and condition if needed. The process should feel warm and soothing, never hot or uncomfortable. If the oil feels too warm on your wrist, let it cool before applying.
Step 1: Gather your supplies
Before you begin, set up everything you need so the process stays relaxed and mess-free. You will need your chosen oil or oil blend, a heat-safe bowl or applicator bottle, a larger bowl of hot water for warming, a towel, clips, a wide-tooth comb, a shower cap or plastic processing cap, and shampoo.
Avoid microwaving oil directly if you can, because it may heat unevenly and create hot spots. A safer approach is to place the oil container in hot water and let it warm gradually. This gives you more control and reduces the chance of overheating.
Step 2: Start with detangled hair
Detangle your hair gently before applying oil. This helps the product spread evenly and prevents you from pulling through knots once the hair is slippery. Use your fingers or a wide-tooth comb, starting at the ends and working upward.
You can apply hot oil to dry or slightly damp hair. Damp hair may help with distribution, while dry hair makes it easier to see which areas need more attention. If your hair is very tangled, lightly mist it with water or a leave-in spray first.
Step 3: Warm the oil safely
Pour a small amount of oil into your bowl or bottle. For short or fine hair, start with one to two teaspoons. For medium to long hair, one to two tablespoons may be enough. Thick, long, or dense hair may need more, but it is still better to add gradually than to overapply.
Place the container in a bowl of hot water for a few minutes. Test the oil on the inside of your wrist before using it. It should feel comfortably warm, not hot.
Step 4: Apply from the ends upward
Begin at the ends of your hair, because they usually need the most conditioning. Work the oil through small sections, smoothing it over the hair with your fingers. Move toward the mid-lengths, then apply only a light amount near the roots if your scalp or root area tends to get oily.
For curly, coily, or thick hair, sectioning makes a big difference. Four to eight sections can help you coat the hair more evenly. For fine hair, focus mainly on the lower half to avoid a limp finish.
Step 5: Massage only if your scalp likes it
If your scalp is comfortable with oil, apply a small amount with your fingertips and massage gently for a few minutes. Use soft circular motions rather than scratching. This can make the treatment feel more relaxing and help distribute oil at the roots.
Skip scalp application if you have irritation, active flaking, scalp acne, or sensitivity to oils. In those cases, keep the treatment on the hair lengths only. If you have a scalp condition, it is best to follow guidance from a qualified professional rather than experimenting with heavy oils.
Step 6: Cover and let it sit
Cover your hair with a shower cap or wrap it in a warm towel. This keeps the oil from transferring onto clothing and helps maintain gentle warmth. Let the treatment sit for 15 to 30 minutes.
Longer is not always better. Fine hair may only need 10 to 15 minutes, while thick or very dry hair may enjoy the full 30 minutes. Leaving oil on overnight can be too heavy for some people and may irritate the scalp or stain bedding, so start with a shorter session first.
Step 7: Shampoo and rinse thoroughly
Rinse with warm water, then shampoo your scalp and hair carefully. You may need a second shampoo if your hair still feels coated. Focus on cleansing the scalp first, then let the shampoo move through the lengths as you rinse.
After shampooing, decide whether you need conditioner. Some hair feels soft enough after the oil treatment, while other hair benefits from a light conditioner to restore slip. Rinse well so the final result feels soft, not greasy.
A simple hot oil treatment routine to follow
A consistent routine helps you get the benefits without guessing every time. Use this checklist as a starting point, then adjust the amount of oil and timing based on how your hair responds.
- Choose one nourishing hair oil or a simple two-oil blend.
- Detangle your hair before applying anything.
- Warm the oil indirectly in hot water.
- Test the temperature on your wrist.
- Apply to ends first, then mid-lengths.
- Add a small amount near the scalp only if needed.
- Cover hair with a cap or warm towel.
- Wait 15 to 30 minutes.
- Shampoo once or twice until the hair feels clean.
- Condition lightly if your hair needs extra slip.
After your hair dries, pay attention to the result. If it feels soft but not oily, you used a good amount. If it feels limp or coated, use less oil next time or shampoo twice. If it still feels dry, try a richer oil, longer processing time, or apply more to the ends.
How often should you use a hair oil treatment?
Most people can start with a hair oil treatment once every one to two weeks, then adjust based on dryness, texture, and how the hair feels after washing. Hair that is coarse, curly, coily, color-treated, or frequently heat-styled may benefit from more regular treatments. Fine or oily-prone hair may only need one occasionally, especially on the ends.
Your hair will usually tell you when the timing is right. If it feels rough, tangles easily, or looks dull after your usual routine, a hot oil session may help. If it feels heavy, flat, or difficult to cleanse, you may be using treatments too often or choosing an oil that is too rich.
Seasonal changes matter too. Cold air, indoor heating, strong sun, swimming, and dry climates can all make hair feel less hydrated. During those times, a hot oil treatment can be used as a supportive step rather than a daily habit.
Common mistakes that make hair feel greasy or heavy
A hot oil treatment should leave your hair touchable, not coated. When the result feels greasy, the problem is usually the amount of oil, the type of oil, or the rinse-out method. Small adjustments can make the treatment much more effective.
Avoid these common mistakes:
- Using too much oil: More oil does not mean more nourishment. Start small and add only where needed.
- Applying heavy oil to fine roots: This can make clean hair look flat soon after washing.
- Overheating the oil: Oil should be warm, never hot. Excess heat can burn the skin or make the experience unpleasant.
- Skipping the wrist test: Always check the temperature before applying oil to your scalp or hair.
- Leaving it on too long: A shorter treatment can work better than an overnight soak.
- Not shampooing enough: If the hair feels waxy or stringy, cleanse again.
- Choosing the wrong oil: Thick oils may need to be blended or avoided if your hair is easily weighed down.
If you are new to hot oil treatments, treat your first session like a test run. Use a modest amount, keep the timing short, and observe how your hair responds once it is fully dry.
Adapting the method for different hair textures
Different hair textures can benefit from the same basic method, but the details should change. Fine straight hair often needs less oil and more thorough rinsing. Wavy hair may do well with oil on the ends and mid-lengths, especially if the waves become frizzy or dry.
Curly hair often benefits from sectioning and careful smoothing, because curls can hide dry spots inside the shape of the hair. Apply oil in smaller sections and gently scrunch or smooth each curl group. This helps maintain definition while adding softness.
Coily and tightly textured hair may need more time and more targeted application. Focus on the ends, the crown, and any areas that feel rough or prone to breakage. A richer oil blend can be useful, but it should still rinse clean enough that the hair does not feel coated.
Color-treated, relaxed, or chemically processed hair should be handled gently. Avoid high heat, rough detangling, and excessive manipulation. A hot oil treatment can add softness, but it should not replace bond-building products, protein-moisture balance, or professional advice when hair is damaged.
Safety tips before you begin
Hot oil treatments are simple, but they still require care. Warm oil can burn the skin if overheated, and some oils or fragrances can irritate the scalp. Always prioritize comfort over intensity.
Keep these safety tips in mind:
- Test the oil temperature on your wrist every time.
- Do a small patch test if you are trying a new oil.
- Avoid applying oil to broken, irritated, or inflamed skin.
- Keep oil away from your eyes and face.
- Use towels you do not mind staining.
- Stand on a non-slip surface, especially if oil drips in the shower.
- Stop immediately if you feel burning, itching, or discomfort.
If you have a known allergy to nuts, seeds, botanicals, or fragrance, check the oil source carefully. Many hair oils are plant-derived, and blends may contain added fragrance or essential oils. When in doubt, choose a plain, single-ingredient oil and test cautiously.
Making the treatment part of a healthy hair routine
A hot oil treatment works best when it supports the rest of your routine. It cannot make up for constant high heat, harsh brushing, or products that leave your hair feeling stripped. Pair it with gentle cleansing, regular conditioning, careful detangling, and protective habits.
You can also time the treatment around your schedule. Use it before a wash day when your hair needs extra softness, before installing a protective style, or after a period of sun, swimming, or frequent styling. If you use deep conditioner too, you do not always need both on the same day. Alternating them can keep your routine lighter and easier to maintain.
A simple rhythm might look like this: shampoo and condition most wash days, use a hot oil treatment every couple of weeks, and add a deep conditioner when your hair needs extra moisture or slip. The right routine is the one your hair responds to well and you can actually keep doing.
Key takeaways for better results
A successful Hot Oil Treatment for Hair is warm, gentle, and customized. Choose an oil that matches your hair’s needs, use a light hand, and focus on the driest areas first. The best treatment is not the heaviest one; it is the one that leaves your hair softer, smoother, and easier to manage after washing.
Remember the basics:
- Warm the oil indirectly instead of overheating it.
- Apply to ends first because they usually need the most care.
- Keep the treatment time reasonable.
- Shampoo thoroughly so hair feels clean and light.
- Adjust your oil choice and amount after each session.
With a little practice, a hot oil treatment can become one of the easiest self-care steps in your hair routine. It is affordable, flexible, and simple enough to do at home, yet it can make wash day feel more intentional. Start small, listen to your hair, and build the ritual that gives you the softest, healthiest-looking result.
- Last updated
- Language
- English
How did you find this article?
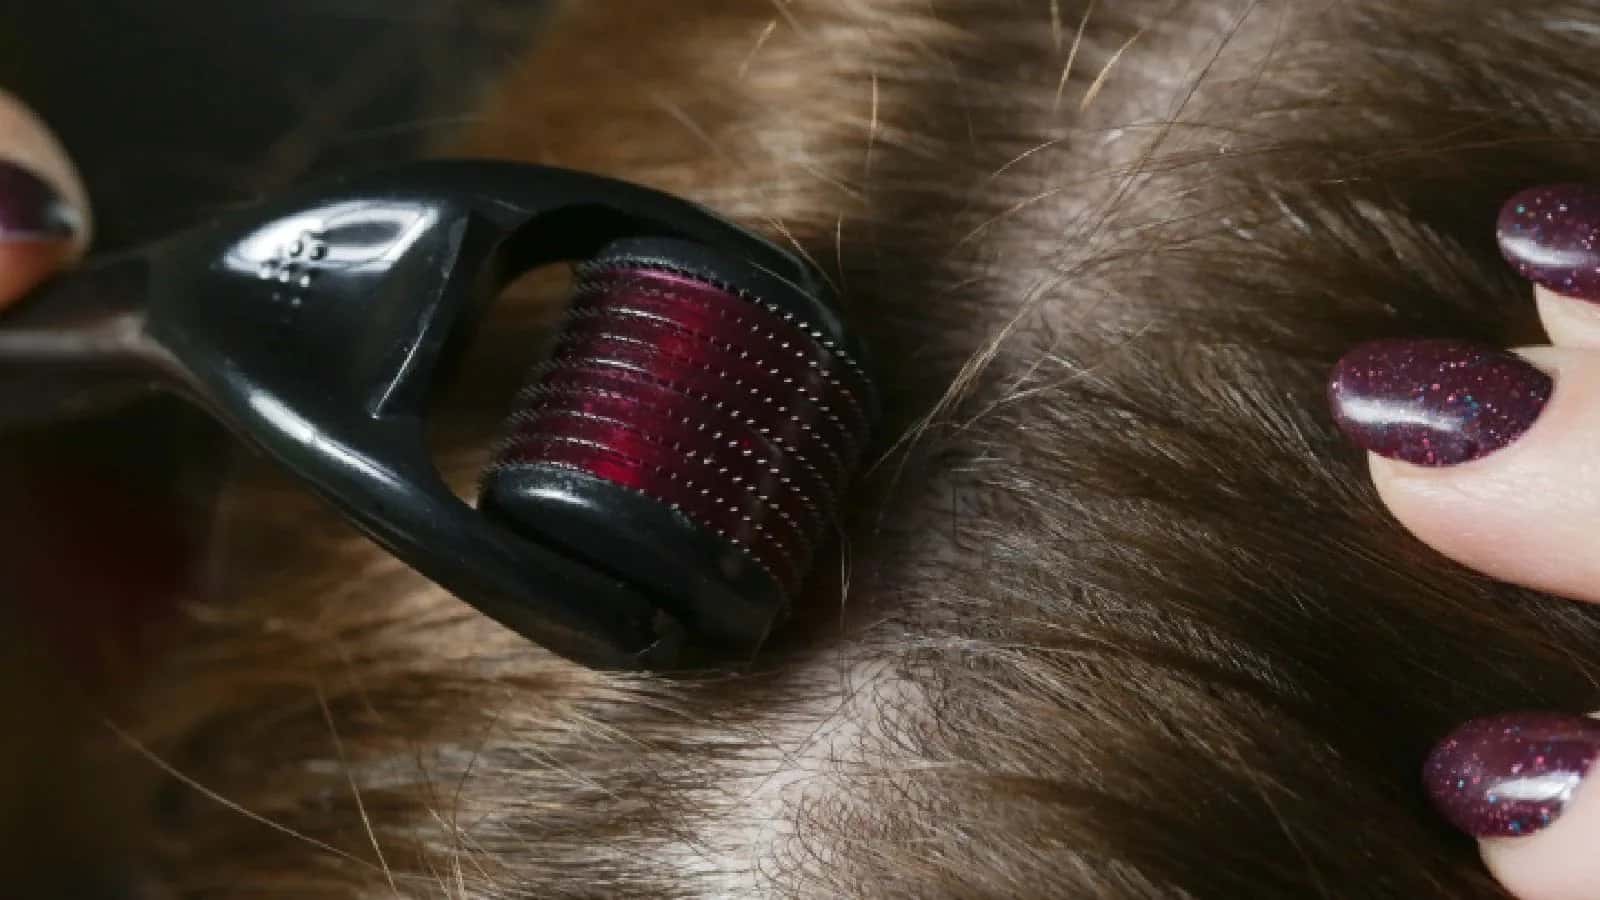
This guide explains whether a dermaroller can support hair growth, how scalp microneedling works, who may benefit, and what results can realistically be expected.

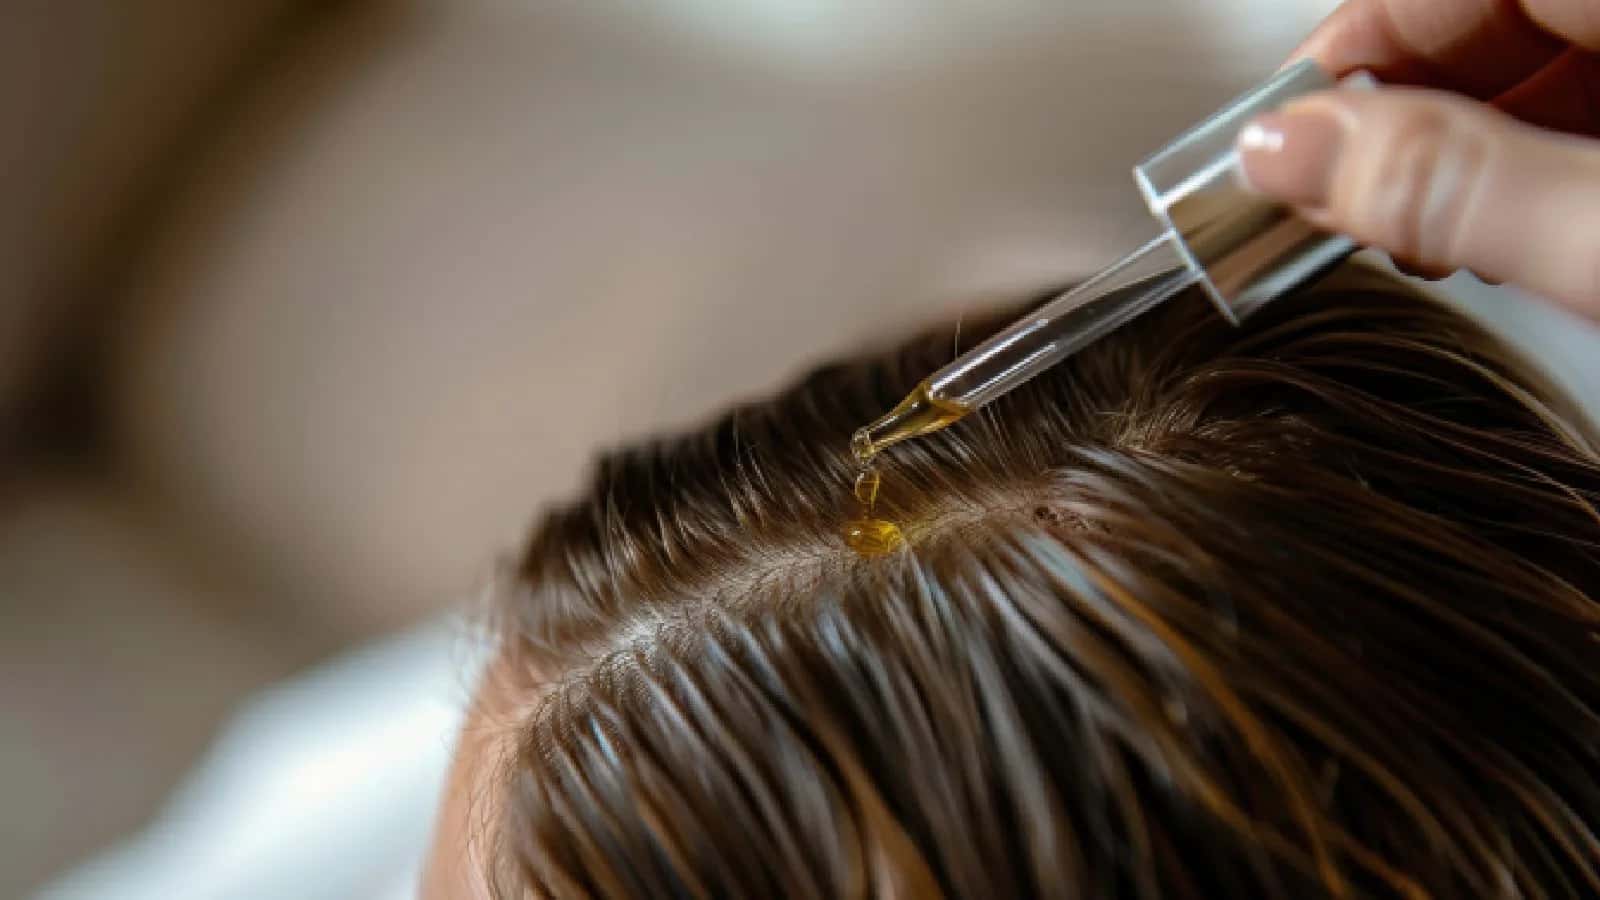
This guide explains issues associated with Procapil use, such as scalp irritation, dryness, itching, redness, concerns about hair shedding, allergic reactions, and long-term use.
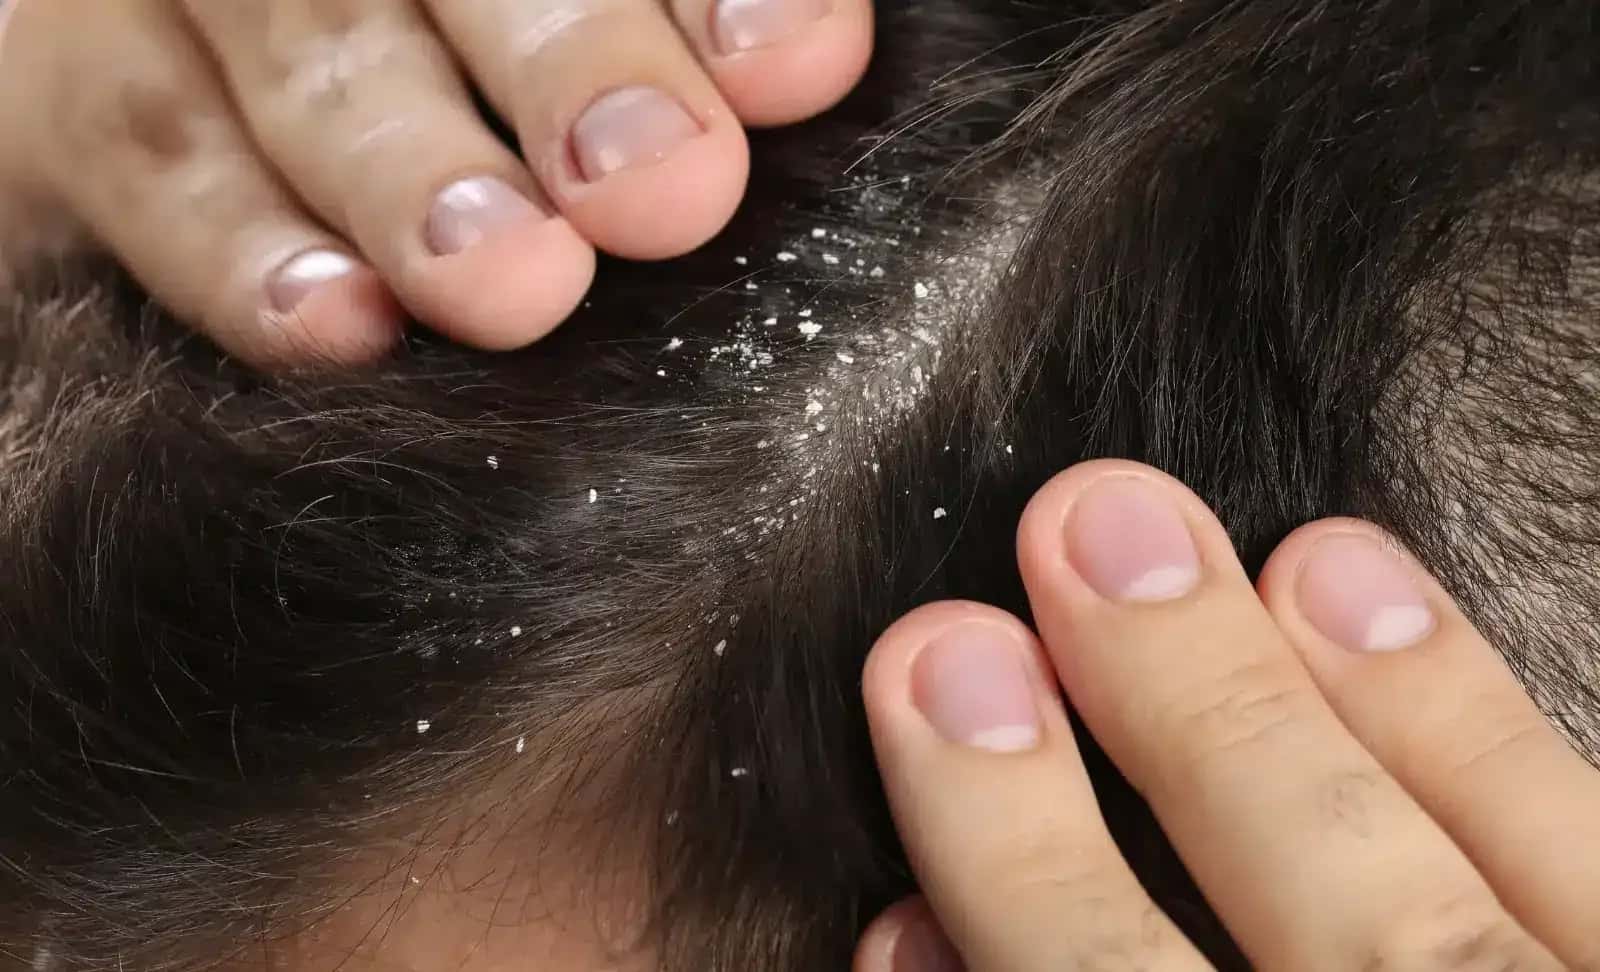
This guide explains how Nizoral shampoo works, what it is used for, how often it can be applied, and what to expect from ketoconazole scalp care.
Subscribe to the Medifinder newsletter and never miss our latest content.